
When it comes to fishing, having a wide selection of lures in your tackle box can greatly improve your chances of success. One classic and versatile option is the bucktail jig. Known for its lifelike appearance and enticing movement in the water, a properly tied bucktail can attract a variety of fish species. In this article, we’ll guide you through the steps to master the art of tying a bucktail lure.
Materials Needed:
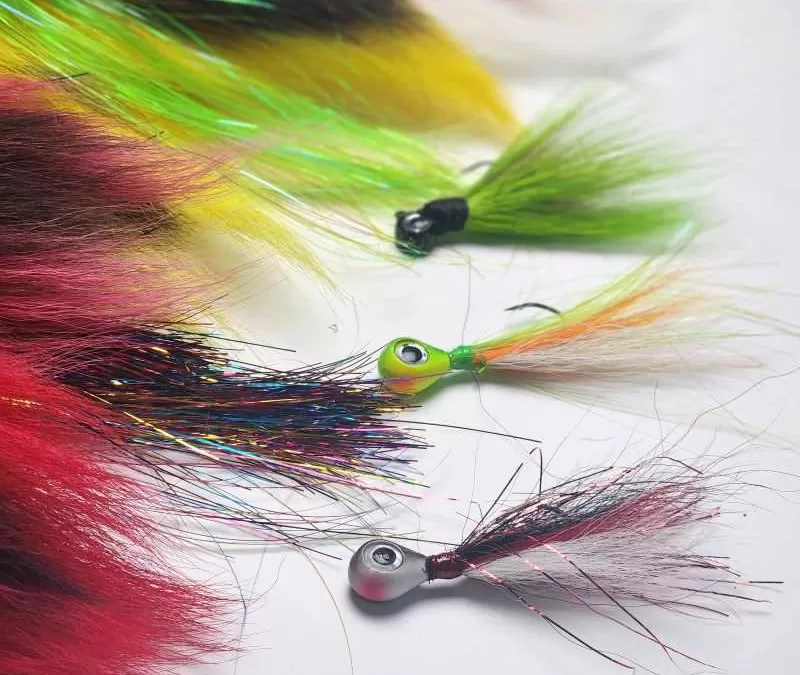
– Bucktail hair (natural or synthetic)
– Jig head
– Thread (matching the color of the bucktail)
– Fly tying vise or a bench vise or locking pliers
– Scissors
– Clear or colored epoxy (optional)
– Feathers or flash material (optional)

Step 1: Preparing the Jig Head:
Start by placing the jig head in the vise or pliers, securing it tightly. This will allow you to work on the bucktail without the jig head moving around.
Step 2: Attaching the Thread:
Begin by attaching the thread to the jig head. Create a few wraps to secure it in place and trim off the excess thread.

Step 3: Preparing the Bucktail:
Select a bundle of bucktail hair, making sure the tips are even. Remove any short or broken hairs. If using natural bucktail, you might want to stack the hairs to align the tips neatly.
Step 4: Tying in the Bucktail:
Place the bundle of bucktail at the base of the jig head. Hold the bucktail in place with your non-tying hand and make a few tight wraps of thread to secure it. Trim off any excess bucktail extending beyond the jig head.

Step 5: Shaping the Bucktail:
Using your fingers, spread and arrange the bucktail around the jig head to create a natural, tapered profile. This will mimic the appearance of a fish’s tail.
Step 6: Adding Optional Materials:
If desired, you can enhance the appearance of the bucktail by adding feathers or flash materials. These materials can be mixed in with the bucktail or secured to the jig before or after the bucktail is attached, secure them with tight thread wraps.
Step 7: Securing the Bucktail:
Make several tight wraps of thread around the base of the bucktail to secure it firmly to the jig head. This will prevent the bucktail from coming loose during fishing.

Step 8: Finishing Touches:
For added durability and a glossy finish, you can apply a thin layer of clear or colored epoxy to the thread wraps. This will also provide extra protection against wear and tear. We highly recommend using a UV cure epoxy made for fly tying. The UV epoxy cures in literal seconds when exposed to UV light and the jig is fishable immediately. Inexpensive UV cure flashlights can be purchased from various online sources.
Step 9: Final Trimming:
Trim any excess thread and ensure that the bucktail is neatly secured. Gently comb through the bucktail with your fingers to ensure it retains its natural appearance.
Tying a bucktail lure is an easy to learn skill that opens up a world of fishing possibilities and can save you money. With a few materials and some practice, you can create lifelike lures that entice a variety of fish. Importantly you can tie patterns specific to the lakes you fish. Patterns that no other anglers have in their box of tricks. Whether you’re a seasoned angler or a beginner, mastering the art of tying a bucktail will undoubtedly enhance your fishing experience. So, gather your materials, follow these steps, and get ready to reel in some impressive catches with your homemade bucktail jigs.